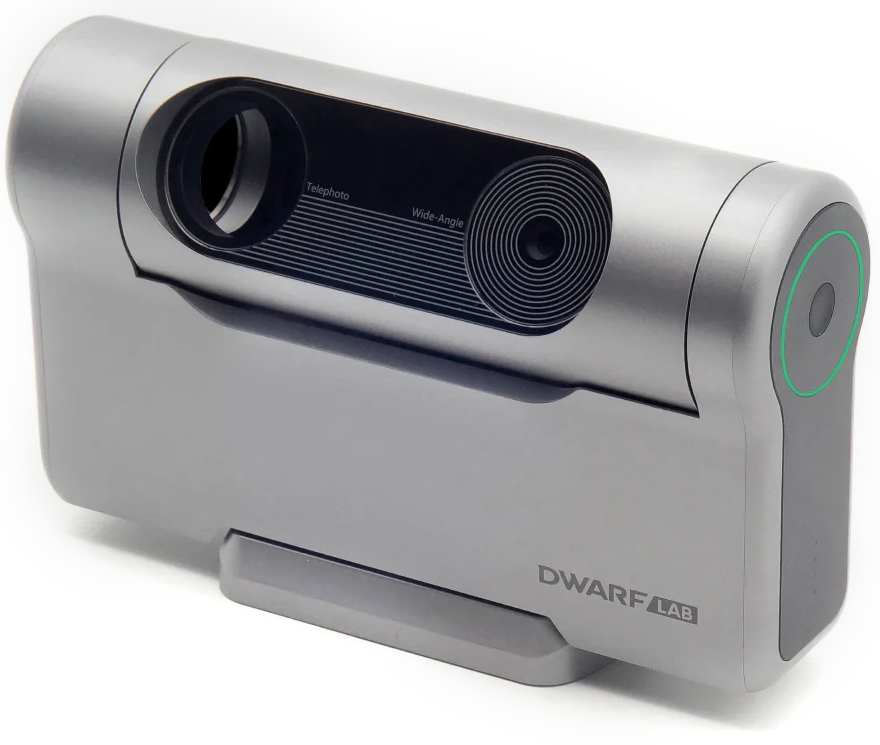
Dwarflab’s intelligent context of Dwarf 3 weighs a poor 2.9 pounds (1.3 kg) and is the maximum of portability. Credit: dwarflab
Astronomy is one of the more rapid evolution sciences and the equipment we use to explore and record the universe is advancing just as quickly.
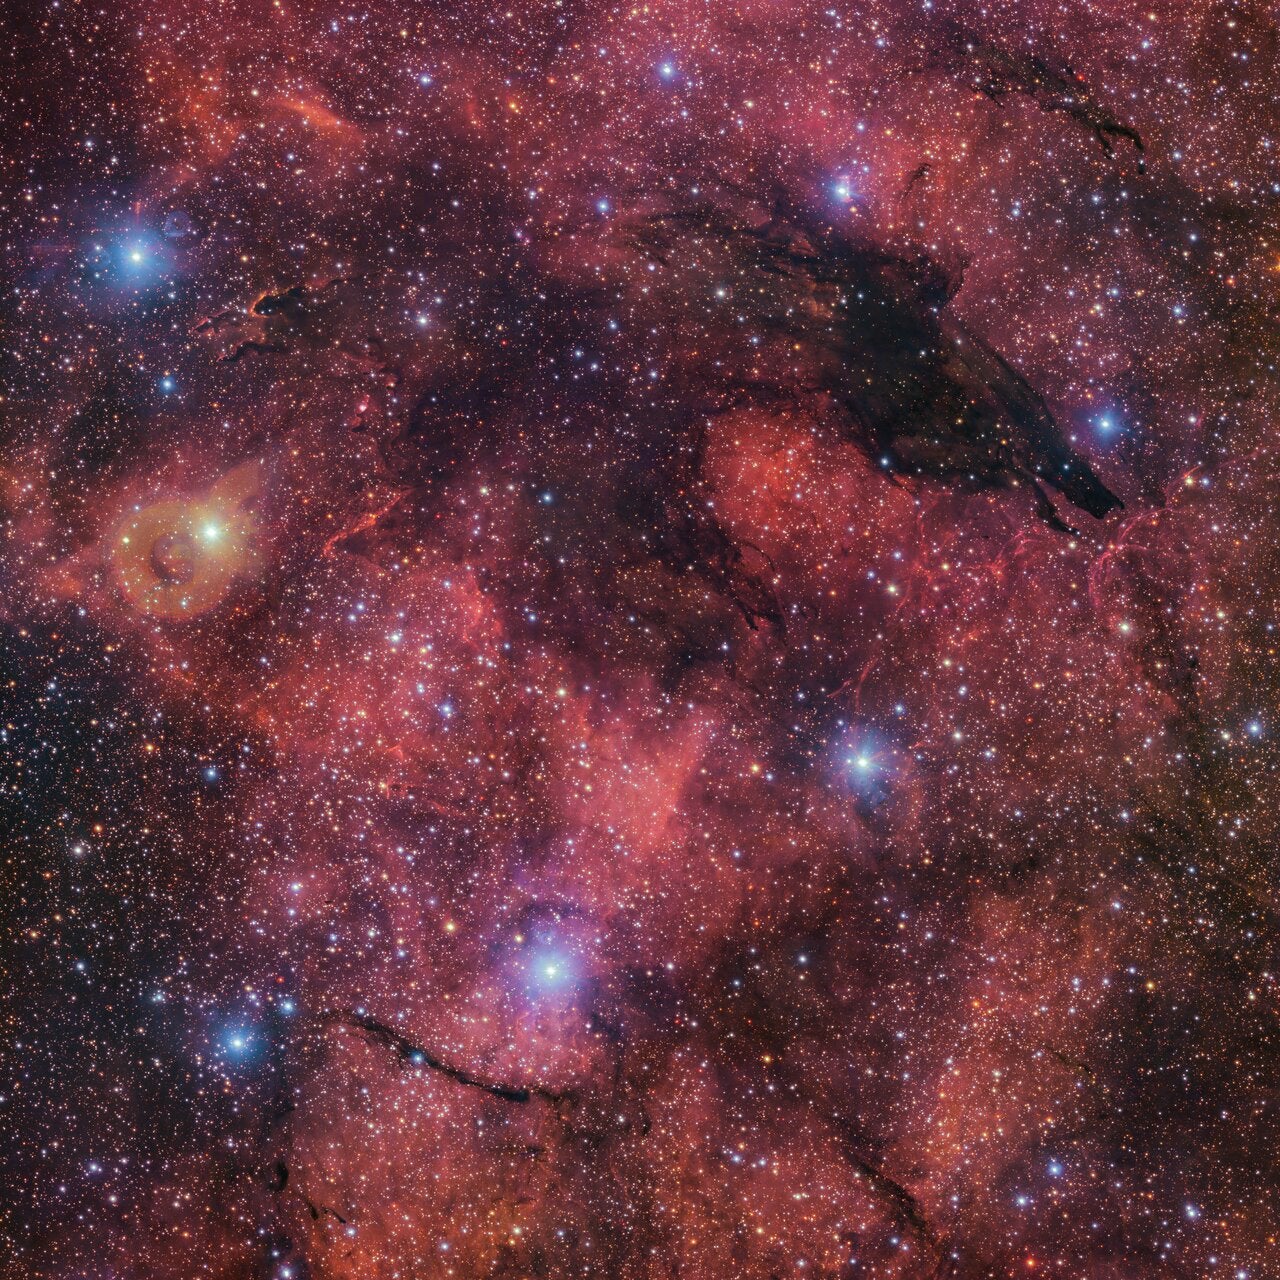
The intelligent telescopes embody the evolving equipment scene, combining a telescope, a digital camera and automated monitoring in an elegant package. They allow novice astrophotographers to capture splendid deep images in their first clear night without the steep learning curve that was standard only a few years ago.
This trend is perfectly illustrated by the Dwarflab Dwarf 3 intelligent telescope. Not long after examining their DWARF II model in AstronomyNumber of August 2024, the company has announced its next generation. So, to put the dwarf through its steps, I organized to receive a revision unit from the company.
The family similarity between nano II and nano 3 is unmistakable, but nano 3 takes the best of nano II and pushes the boundaries of what a small telescope can do.
Large optics in a small package
At the center of Nano 3 there is an apocryomatic f/4.3 35 mm objective consisting of multiple elements of extra-low dispersion lenses (de). The optical design of the telescope uses advanced coatings to improve light transmission and reduce chromatic aberration, providing crispy and vibrant images.
Dwarf 3 uses the Sony -sensitive IMX678 CMOS678 sensor, known for its exceptional performance in low light conditions. With a high dynamic interval and low noise levels, this sensor also captures weak objects with surprisingly short exposures. Its resolution supports high quality images and videos, making it versatile for various astrophotographic needs.
The focal length of 150 mm of the objective is coupled well with the IMX678 sensor in terms of the image scale. The small sensor significantly cultivates the visual field, with consequent effective focal length of 737 mm. The cutout removes any distortion of the edges, also making the nano 3 excellent for capturing larger deep sky objects, as well as the sun and the moon. The focal length, however, is not short for the acquisition of detailed planetary images.
Dwarf 3 has a second goal for great field imaging, a welcome addition. The previous Nana version also had a second goal, but was not designed for astrophotography. The second goal of Dwarf 3 has a diameter of only 3.4 mm with a real focal length of 6.7 mm. It has an effective focal length of 45 mm thanks to the cutting of the sensor. It can be used in all imaging modes, including the time-lapse video for the creation of splendid storcaps.
Dwarf 3 also includes an innovative filtering mechanism with three integrated filters; The filter can be selected before starting an image. The “Astro” filter is the best for clusters and stars galaxies, improving details while it makes night photography. The “double band” filter is perfect for improving the contrast of narrow band objectives such as emissions and planetary nebulae. Finally, the “VIS” filter is designed for daytime photography, such as landscapes and wildlife.
Ready for action
The Dwarf 3 arrived safely in double box within its case. The case also contains magnetic solar filters (for both lenses), a filter case, a USB-C cable and a cloth for cleaning the lenses. The complete package weighs just over 4 pounds (1.8 kilograms) and measures only 9½ for 5 camera (24.1 for 16.5 by 13.3 centimeters).
The configuration of nano 3 was simple. After loading the internal battery, I attached the telescope to my tripod, I swore the double lenses so that they were aimed at the light sky and I pressed the power button mounted on the side.
When I used nano 3 for the first time, I opened the company app, called Dwarflab (compatible with Android and iOS devices) and I noticed that it has undergone significant updates. It is now more intuitive, with an aerodynamic design that makes the app a children’s game navigation. To get the show on the road, I went to the selected connection settings and settings. Once there, I enabled the Sta mode, which allows Smartscope to connect to the Wi-Fi network of your home. It is therefore possible to access the nano 3 inside and outside as long as your mobile device is also connected to the Wi-Fi of the house. If a local network is not available, nano 3 can be managed directly by connecting the mobile device to the internal Wi-Fi of the area, although its range is limited.
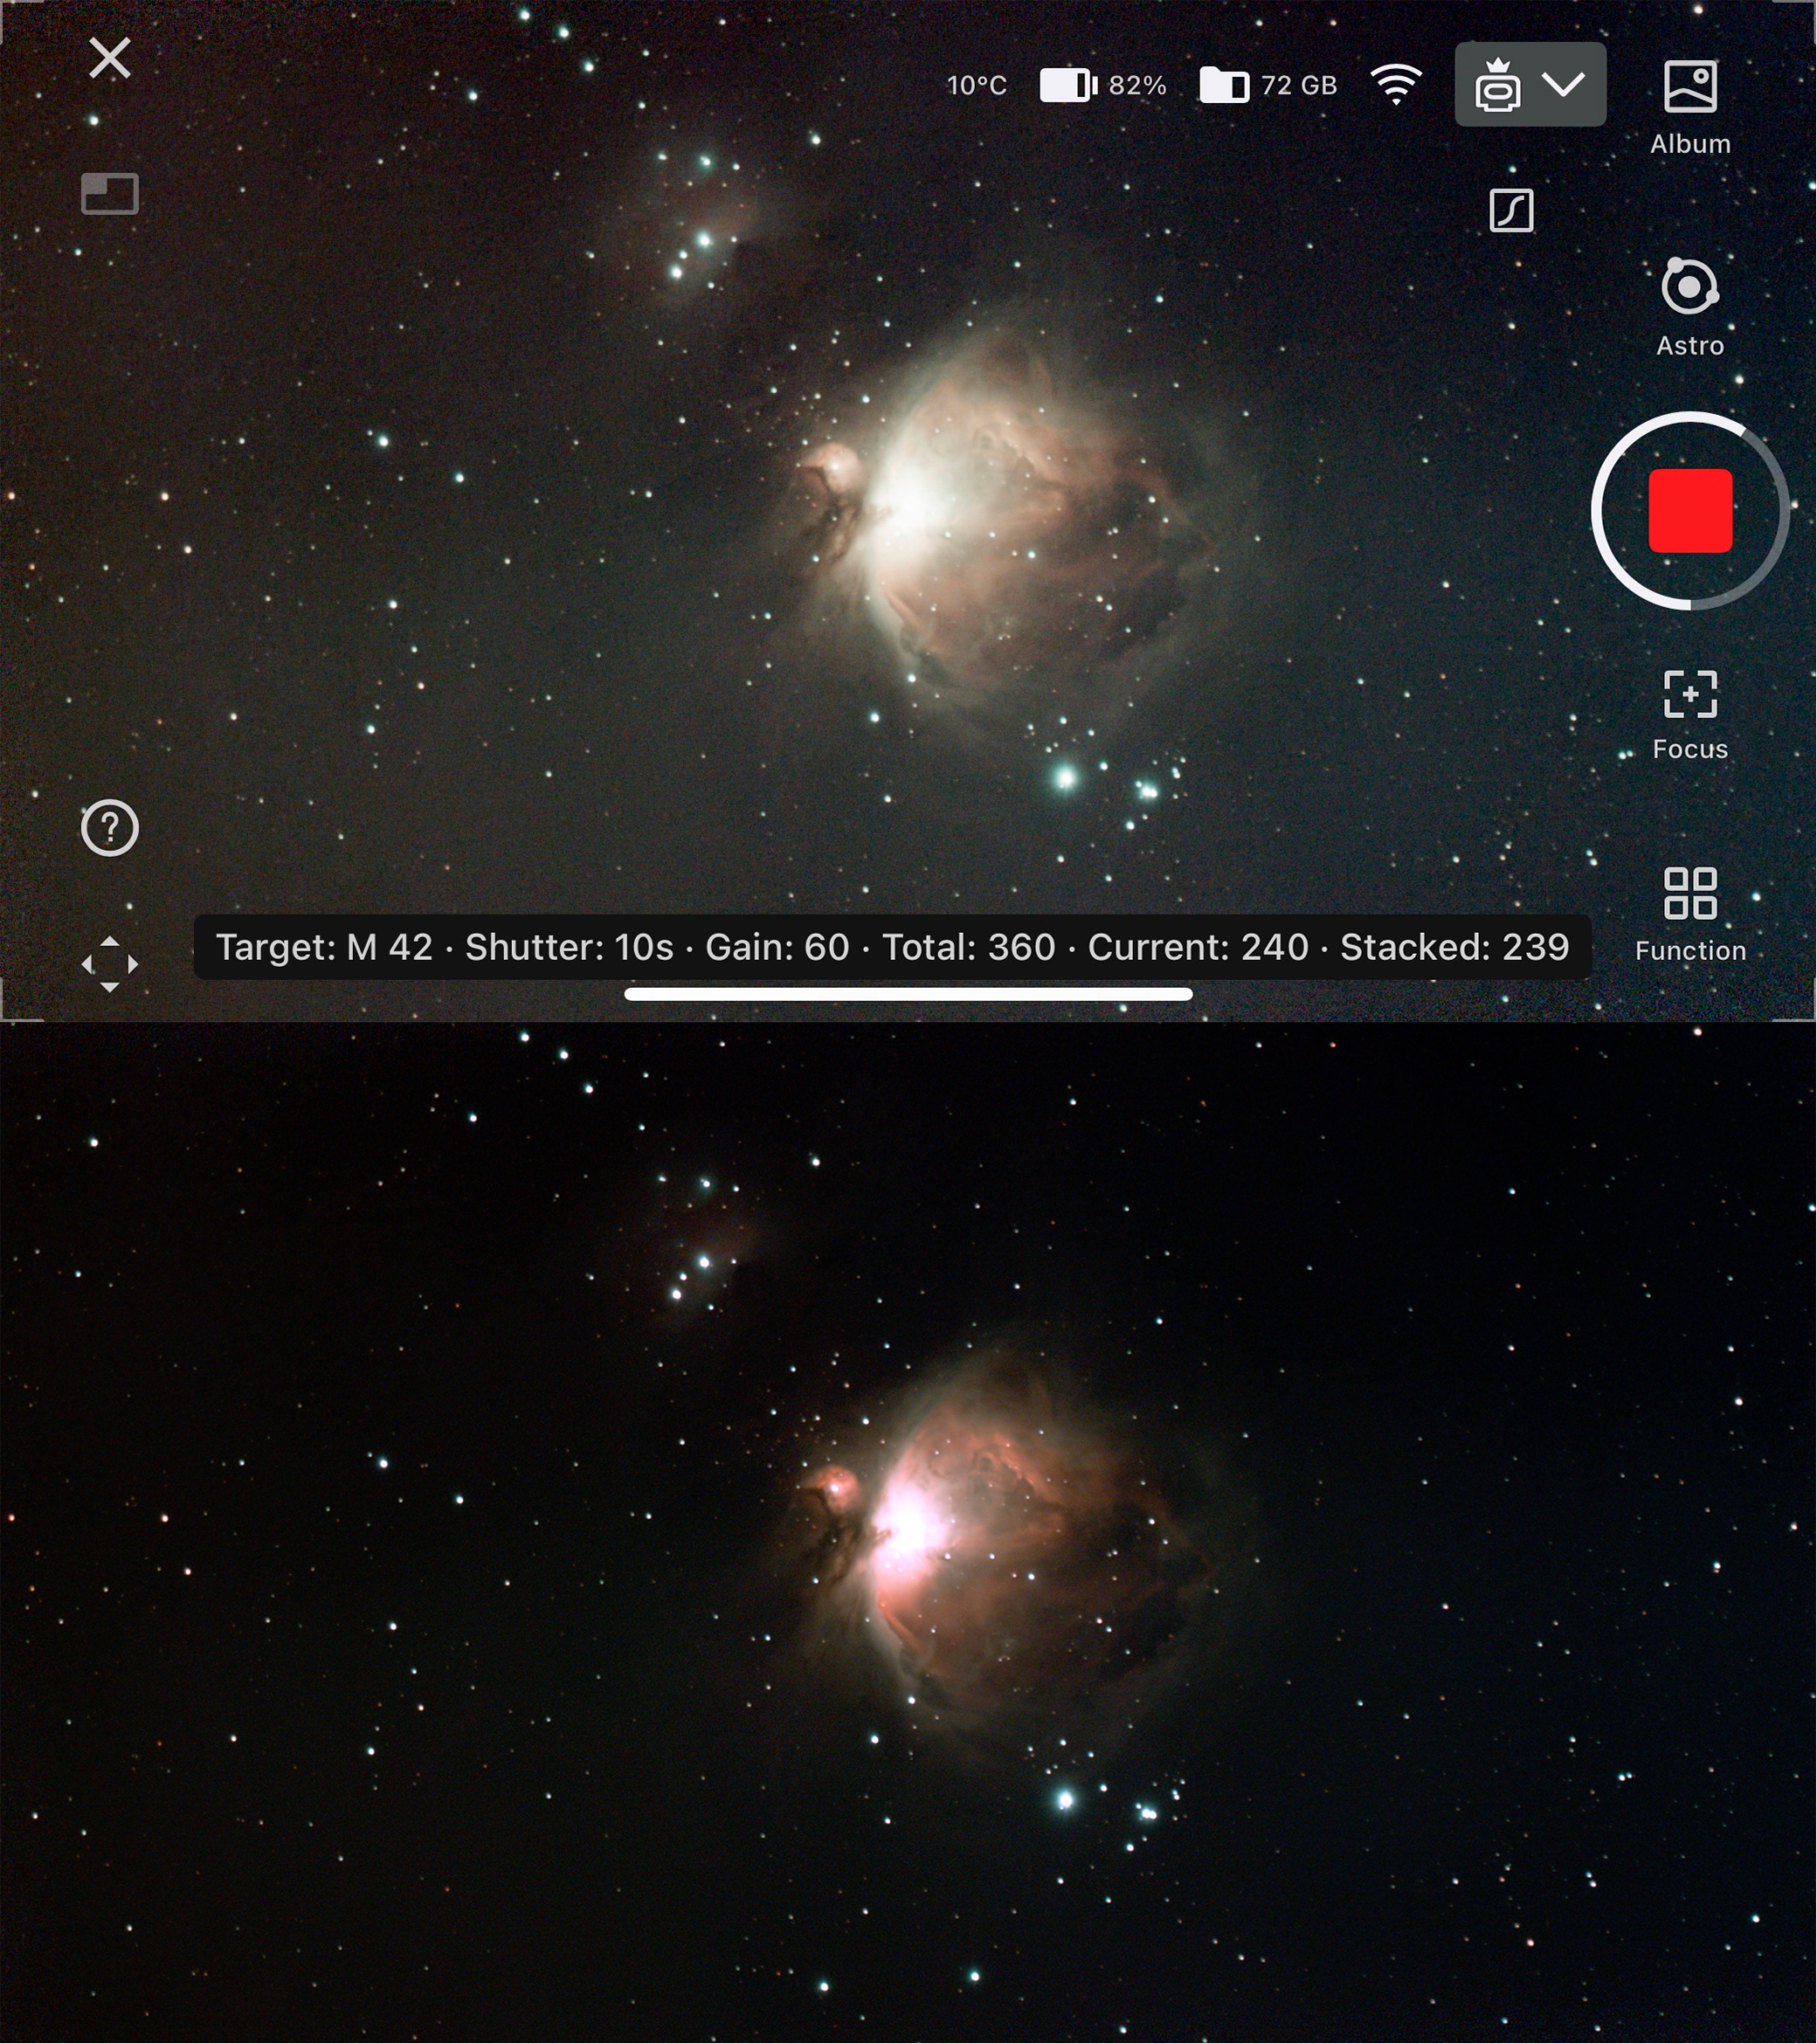
Subsequently, I chose the type of image to be taken. The options include Astro, Time Lapse, Video, Pano and Burst. After collecting the Astro mode, I concentrated the perspective by selecting “Autofocus” or “∞” (Infinity). I found the latter faster and usually quite accurate. The calibration of the telescope to the current sky allows the field to automatically adjust its orientation for precise monitoring and the position of the object.
Objects can be chosen directly from the vast database of stars, planets, galaxies and much more. The updated app includes conditions of sky in real time, providing users with complete data to improve experience. Alternatively, the coordinates can be entered manually for unlisted goals, such as new comets. Once in sight, the area tracked down the target without hitting the target while moving on the sky, showing impeccable every time.
Before capturing an image, I regulated various settings, such as exposure time and gain (analogous to the ISS, directly within the app. Other settings include the secondary second count, live stacking, binning and the improvement of the AI. The latter does not add synthetic data, but rather improves the quality of the image by reducing noise, sharpening the details and improving the contrast.
Dwarf II vs. Dwarf 3
Nano 3 introduces several remarkable updates to Nano II.
For me, the largest is the optional equatorial mode. In its normal altitude Azimut mode, the Nano 3 keeps track of the sky in a movement on/down and left/right, while the stars seem to move in curved arches. Although polar alignment via the app requires practice, the equatorial mode allows a precise tracing to single axis, eliminating the movement upwards/down, left/right, thus improving the quality of the image.
Another significant improvement is the largest and most apocromatic objective lens. While I praised Nano II in my review, the Nano 3 brings the quality of the image to new heights with its biggest opening and a higher sensor.
I was particularly happy to see that the app added a multi -comprehensive stacking and a planning function. The latter allows users to automate imaging by setting start -up, duration and objectives.
The Smart Dwarf 3 telescope is a testimony of how much compact astroimaging technology has arrived. Its advanced perspective, an advanced sensor and an intuitive design appeal for beginners and experts.
In a world of large telescopes, nano 3 is high.
Product information
Dwarf 3 smart telescope
Opening: 1.4 inches (canvases); 0.13 inches (wide)
Focal length: 150 mm (canvases); 6.7 mm (wide)
Store: 128 GB
Lenses: Telephony and Grandancies
Dimensions: 8.7 for 5.6 for 2.6 inches
Weight: 2,9 pounds (1.3 kg)
Price: $ 599.00
Contact: support@dwarflab.com