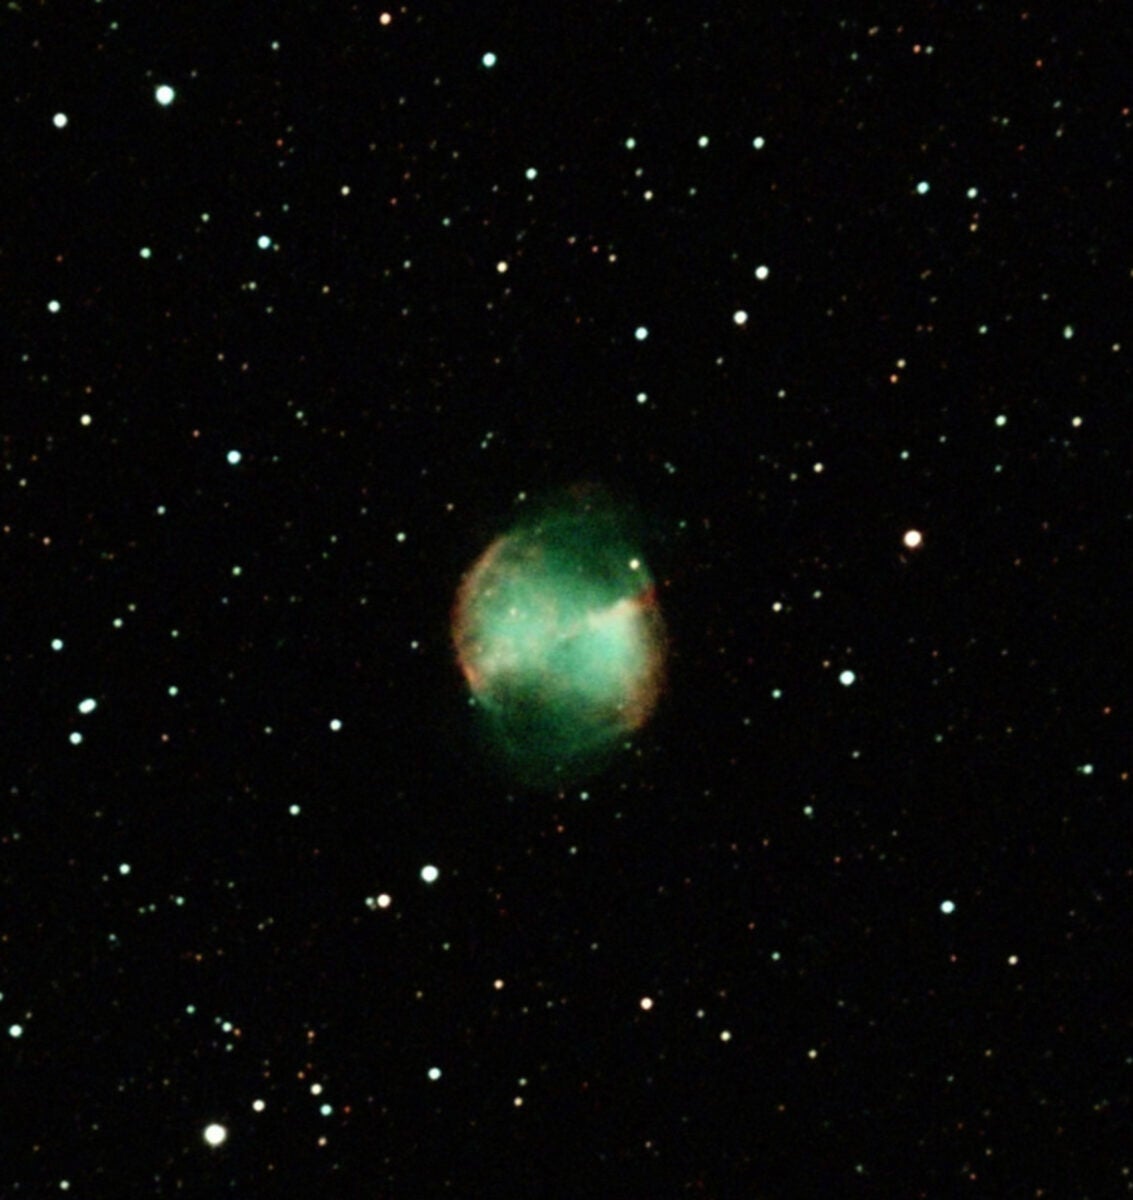
The selection of an object like Dumbbell’s nebula will involve the sphere filter. Credit: Phil Harrington
You and I live a revolution in amateur astronomy. Not long ago, I would have advised beginners to stay away from astroimaging, because getting good results is expensive and takes time. No longer. Today I tell them that the cutting -edge intelligent telescopes are available at relatively reasonable prices that allow new technology experts to obtain incredible results the first night outside.
One of the main contenders in this hot market is the S50 of Sesistar of Zhen Wang Optical (Zwo). Introduced in April 2023 at the North East Astronomy Forum in New York, the Zwo Seesistar S50 appears almost too beautiful to be true. It promises that anyone, even with a minimum knowledge of astroimaging, can capture high quality images of star clusters, nebulae, galaxies, moon and sun. It smooths the steep learning curve traditionally associated with iMering.
The seesistar resembles nothing to a conventional telescope. The black plastic body is made with two parts: the optical tube and the housing for support and alt-azimut controls. In particular, absent is an eye. This is because the seesistar is not made for visual observations. Instead, it is an autonomous astrogram designed specifically to photograph the skies.
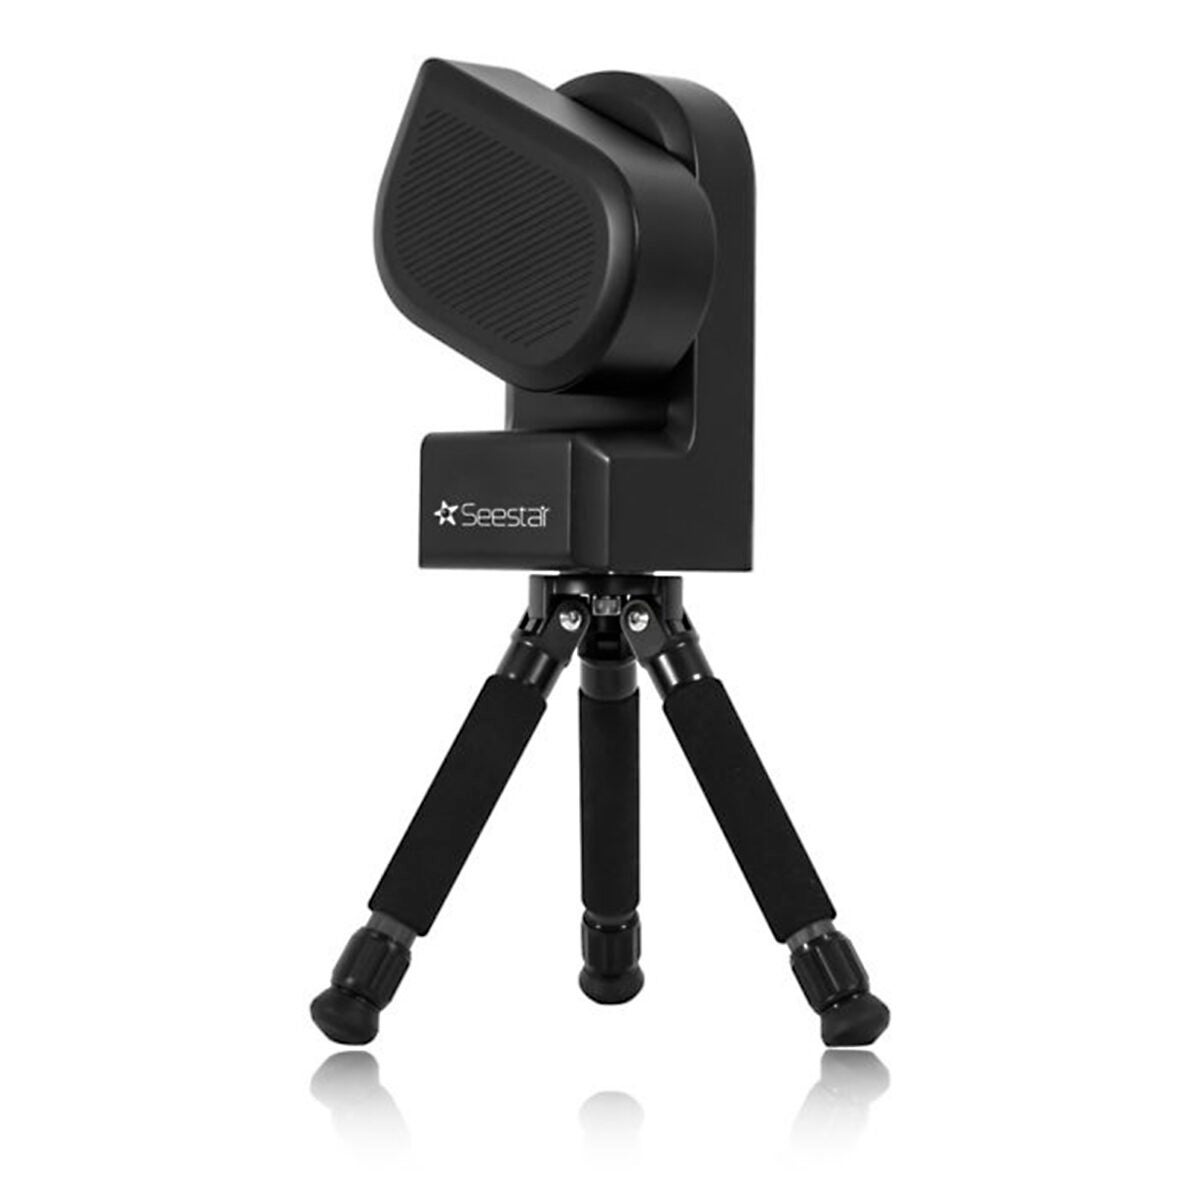
The seesistar is built around an apocromatic refractor that shows off a 2 4.9 -4 4 4.9 lens lean coupled with a Sony IMX462 cos sensor. Together, they excel in capturing celestial objects despite the modest opening. Its apocrylomatic optics guarantee acute and real color images, free from common aberrations.
The S50 is packaged in a grip in adherent polystyrene, which is light and robust. It has a small handle and two clips to keep it closed, but it lacks a lock and a shoulder strap.
Inside, the seesistar is immersed in its “off” position similar to the fetale together with a small tripod, a short USB-C charging cable, a short instruction manual and a sun filter. Everything is held firmly in printed cutouts and weighs a total of 7.5 pounds (3.5 kilograms). In itself, the seesistar weighs 5.5 pounds (2.5 kg).
Two other accessories are hidden inside the means: a dew heaters and a nebulous double -band nebulose filter. The latter improves emission images and planetary nebulae and will automatically engage when both types of objects are selected. The filter can also be involved manually by the user, if desired.
The fully automated seesistar is not supplied with a manual controller. Instead, to check its operation, the user must download and open the Seesistar app on an Apple or Android tablet or tablet.
Unless they are mounted permanently in an observatory, most of the high -end astrophotography configurations take a long time to assemble before use. Not the seesistar. Generally it doesn’t take more than 10 minutes from the opening of the case to make the first shots. That is, unless he is sitting on irregular land; In this case, it must be leveled according to the instructions on the app screen. This can add several minutes, even if there are attacks of third -party tripods that simplify the leveling.
To start, remove it from the custody and connect it to the tripod included or one with a 3/8 -inch threaded pivot. The tripod can be extended from its reduced position of 10.8 inches (274.5 millimeters) to 14.3 inches (363 mm). Some users position the configuration on a table, but vibrations can be a problem. Instead, I preferred to place it on a robust photographic tripod.
Awaken the seesistar by pressing and keeping its “on” square button for several seconds, until it says “turning on; ready to connect.” Four red battery status lights under the “On” button indicate the battery power level . When all four are illuminated, the battery is completely charged. Zwo says that the battery will last up to six hours, which I found good esteem if the night is fresh or mild. The coldest temperatures will decrease the time. In those cases, an external power source can be connected via the USB-C charging port.
Once the seesistar is alive, open the app and connect the two. I found the app easy to learn without having to review the instructions included or the ZWO online manual. Be aware of the fact that if you need some coaching, the manual will help you, but I would also recommend the plethora of YouTube videos, as well as social media groups such as “Seesistar S50 (official zwo group)” on Facebook.
The seesistar announces when it is aligned and ready. From the app, it is possible to view a 24-hour meteorological forecast, select objectives, adjust the sound, develop a focus, start the anti-ta-ta-ta-ta-fi anti-ta-ta-ta-ta heater and alternate the Seasistar filigree. Choose exposure times of 10 (default setting), 20 or 30 seconds for deep sky imaging and decide whether to save only the final stacked image or both the stacked image and the individual sub -lames. You should save individual subframs if you care data in software such as Pixinsight or Siril.
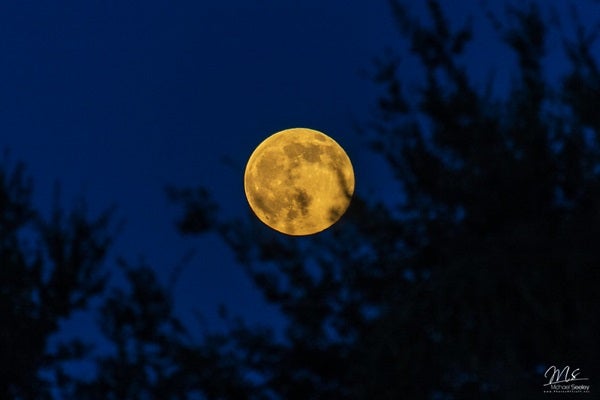
After everything has been set, the seesistar will be silently killed at the target. He worked perfectly every time, even when he aimed in the sun during the day. The old moon gave him some problems, however, and it was the only time I had to manually point the scope using control to deactivate the series on the app screen.
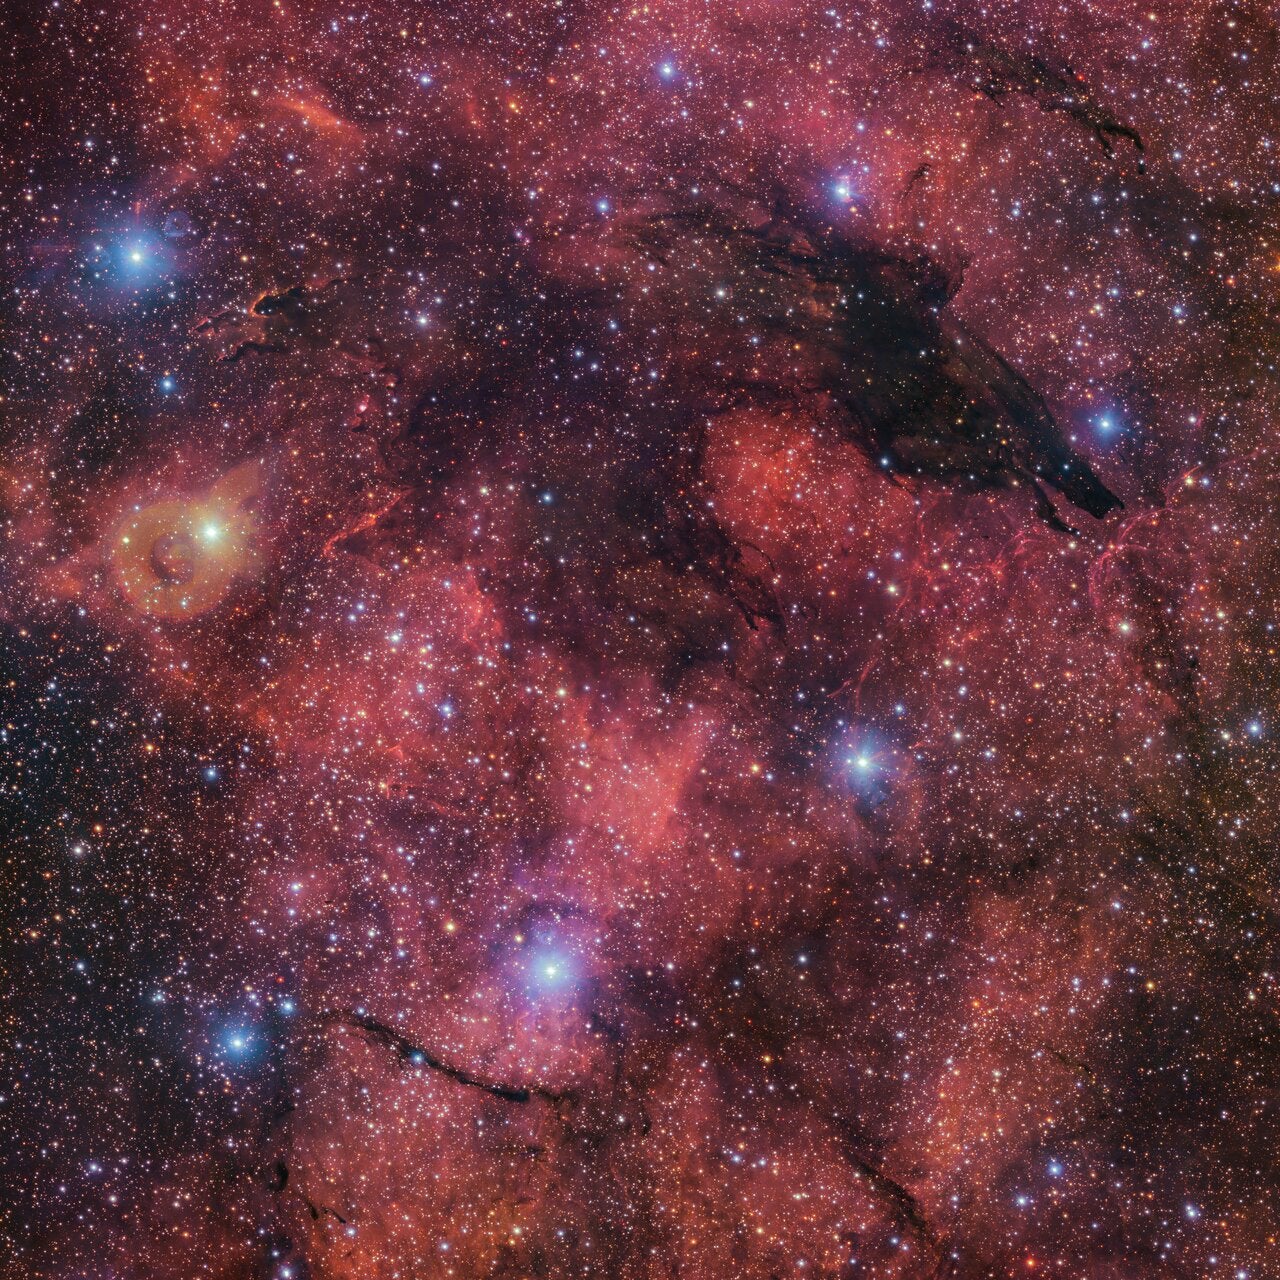
By touching the red shutter button in the app, it starts an exhibition. The details flourish on the screen within a minute. Whether it’s a spiral structure in the Whirlpool (M51) galaxy or in the myriad of stars in globular clusters, the seesistar has delivered clear images that continued to evolve until I pressed the shutter button again. Exhibitions must be started and finished by the user because there is no timer.
Some might think that, with a focal length of only 250 mm, the seesistar is a large -field telescope. It is not. The compact CMOS sensor limits the actual visual field to 1.29 ° of 0.73 °. This can cause unwanted cutting of expansive objectives such as the Andromeda Galaxy (M31) and the Pleiades (M45). In addition to this, the sensor has a large ratio of 16: 9 (1920 × 1080 pixels) and cannot be rotated. (The images are displayed in the orientation of the portrait on your phone.) Since there is no way to rotate the view of the Alt-Azimut support, you may have to wait until a different moment of the night or even a different season for Heaven to tilt target in the right orientation.
During the review, two dark triangles appeared in opposite corners of some images. These were caused by the rotation of the field. The sky moves in an arc, while the Mount Alt-Az of the Seestar moves to steps and rotate the sub -lai to compensate, causing corner anomalies. To repair them, cut out the image or adjust the brightness and contrast using programs such as Gimp, Adobe Lightroom or even the integrated photographic app of the phone. The selection of objectives near the celestial equator also reduces this.
Seesistar out-of-the-tHe-box performances are remarkable. Although it is not a deep expert photographer, I captured fantastic images from my suburban courtyard polluted by light, even under the full moon. The minor problems previously mentioned do not affect my recommendation. I brought me a renewed sense of excitement and I came out every night clear. For those who try to explore astrophotography, the seesistar is a great investment and simply fun to use.